
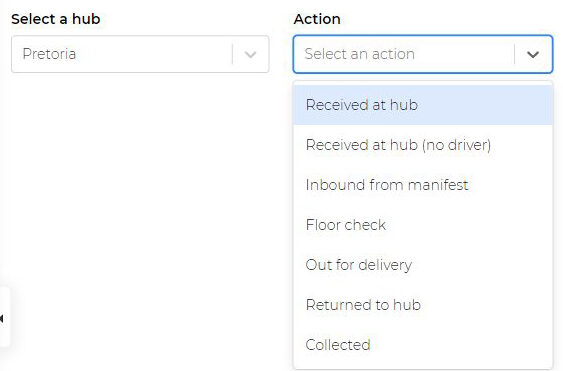
Go to Hub scanner in the left-hand navigation menu and select a hub from the drop-down. If the logged-in user is limited to the branch, then there will be no branch option as the hub scanner will automatically be linked to the chosen branch.
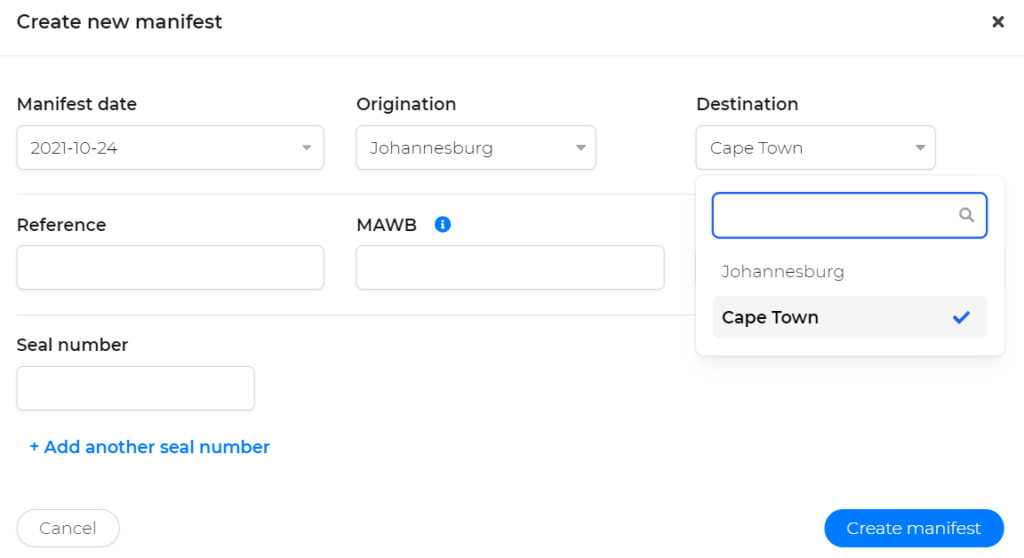
More drop-down menus will appear as you complete the information.
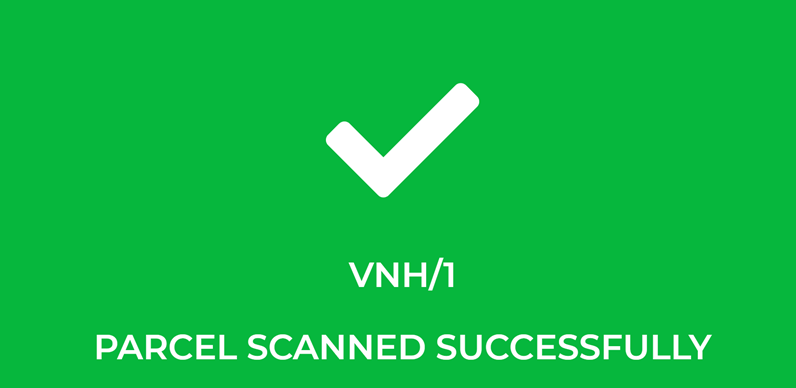
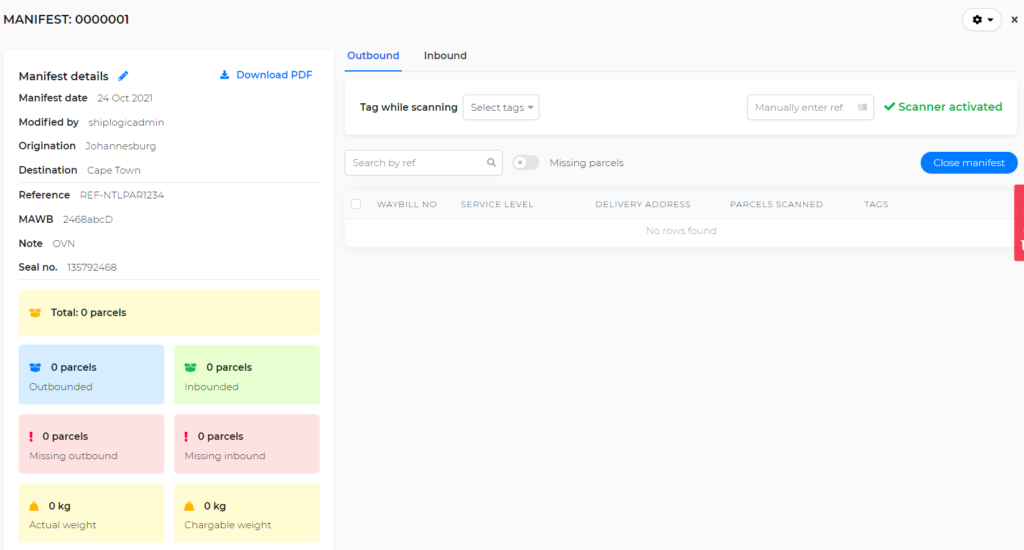
![]() If plugged in, the scanner will become active and ready for use.
If plugged in, the scanner will become active and ready for use.


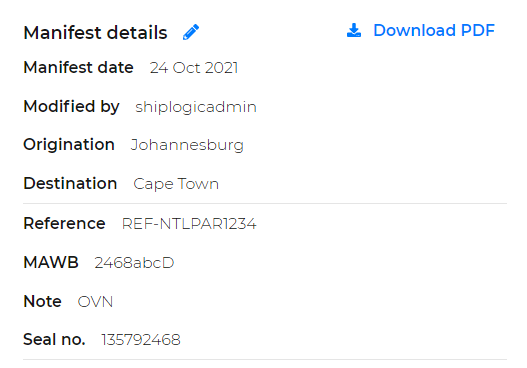
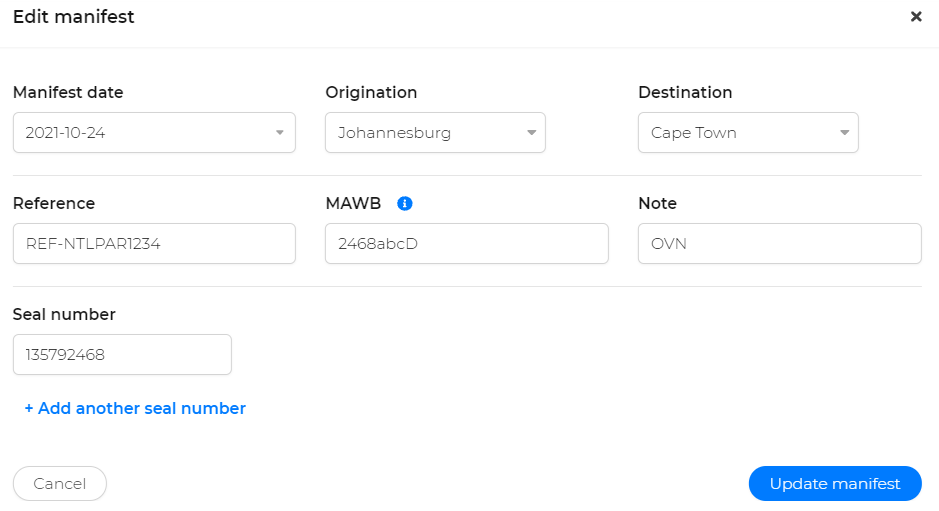
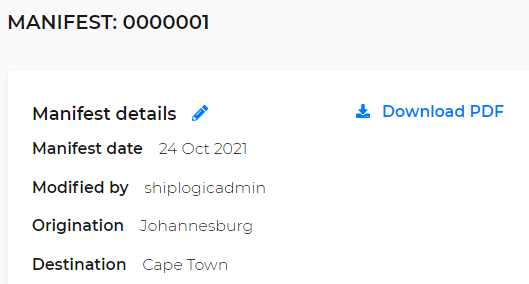
Open the manifest you wish to edit and click on the edit icon ![]() next to Manifest details.
next to Manifest details.

![]() Please note: You can manually enter the shipment/parcel reference if the scanner is not available or not working.
Please note: You can manually enter the shipment/parcel reference if the scanner is not available or not working.
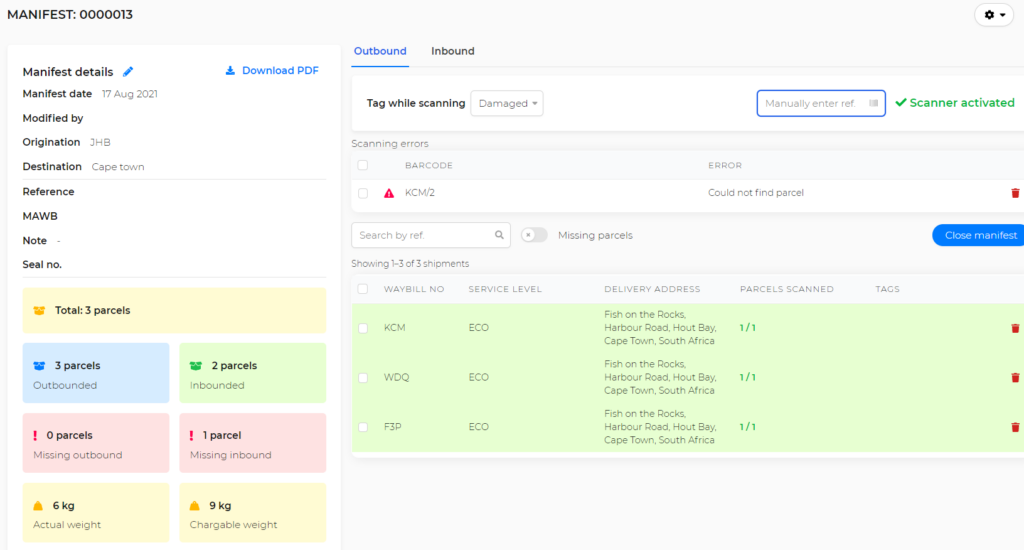
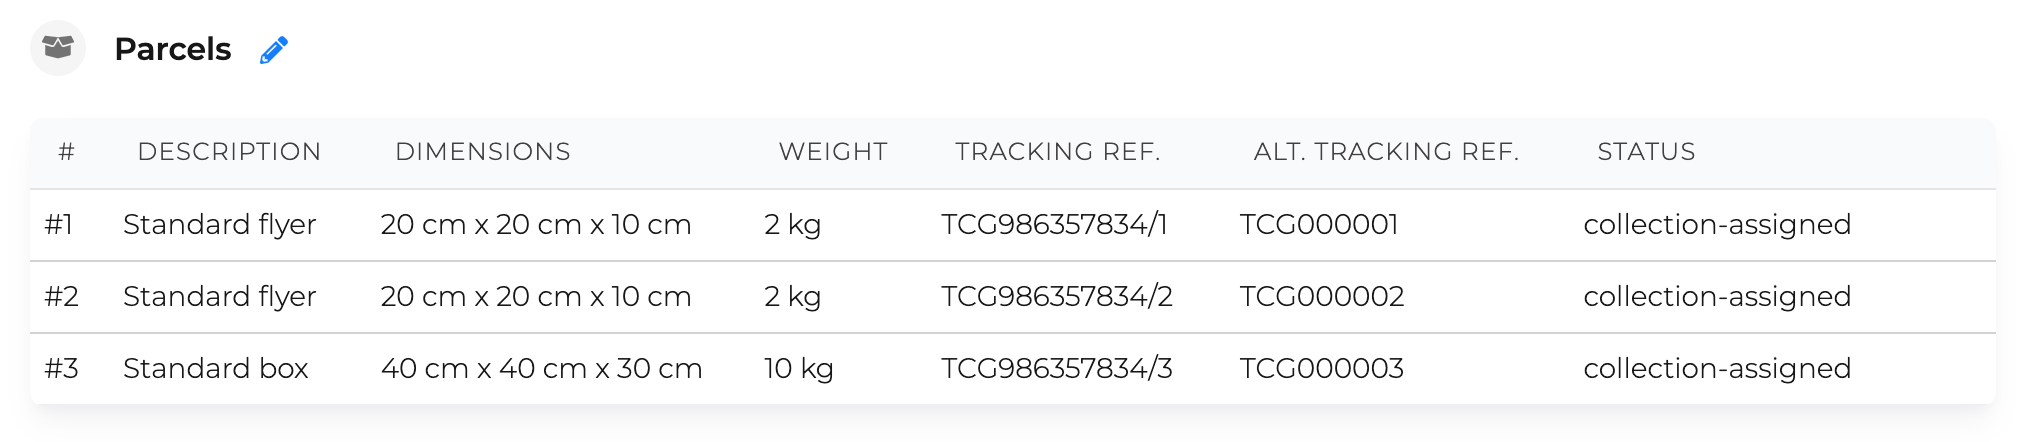
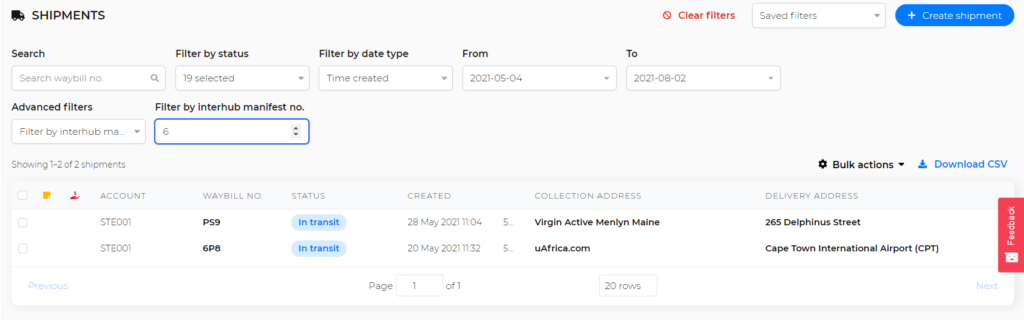
Open the relevant manifest and go to the right-hand side of the page.
Select the toggle “Missing parcels” and view all the parcels still outstanding in the list below.
![]()

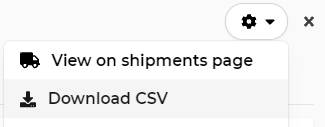
Open the relevant manifest and go to the additional settings icon ![]() in the top right-hand corner of the screen.
in the top right-hand corner of the screen.

Open the relevant manifest and go to the additional settings icon ![]() in the top right-hand corner of the screen.
in the top right-hand corner of the screen.
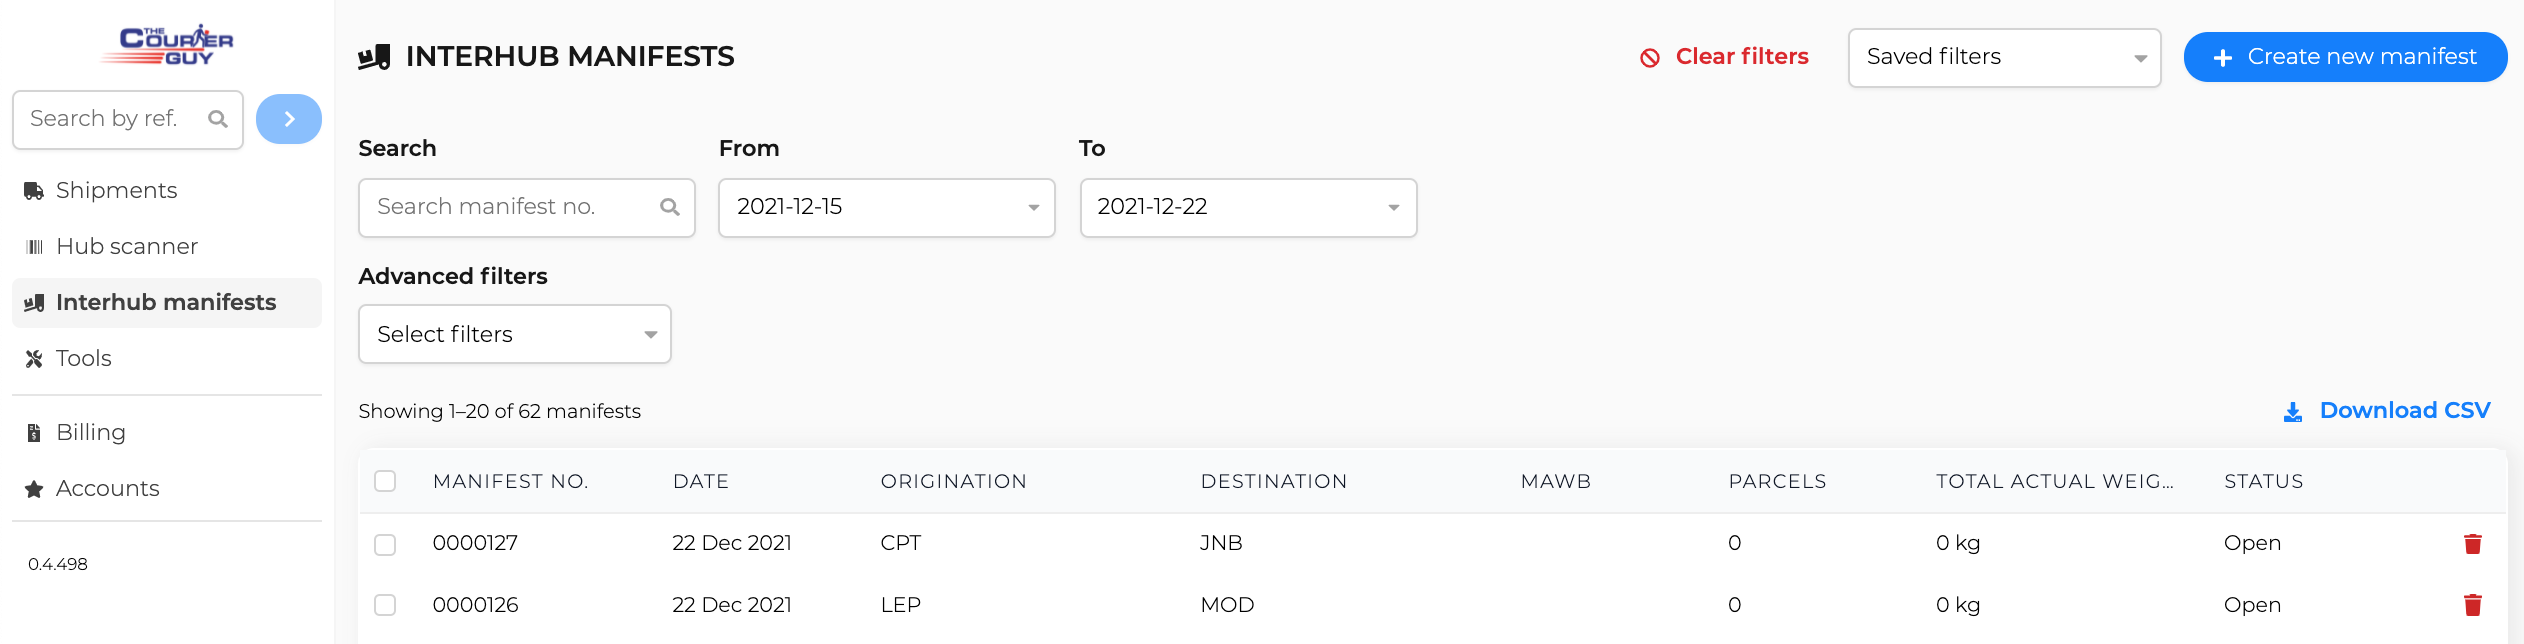
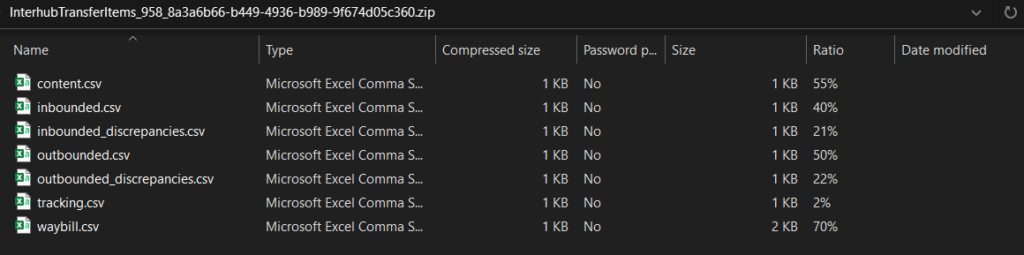
Choose the Download CSV option.
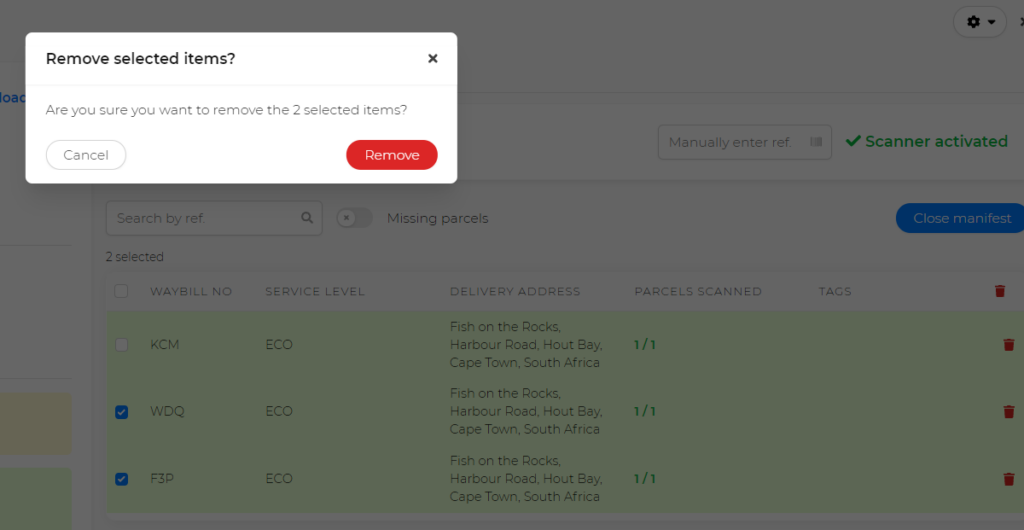
Select the manifest(s) you wish to remove and then click on the trash icon found on the right-hand side of the page ![]() .
.


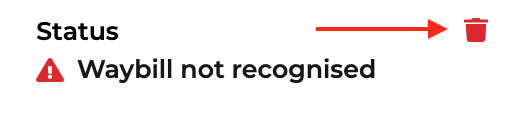
Click on the trash icon ![]() next to the shipment you wish to remove and confirm the removal.
next to the shipment you wish to remove and confirm the removal.


![]()
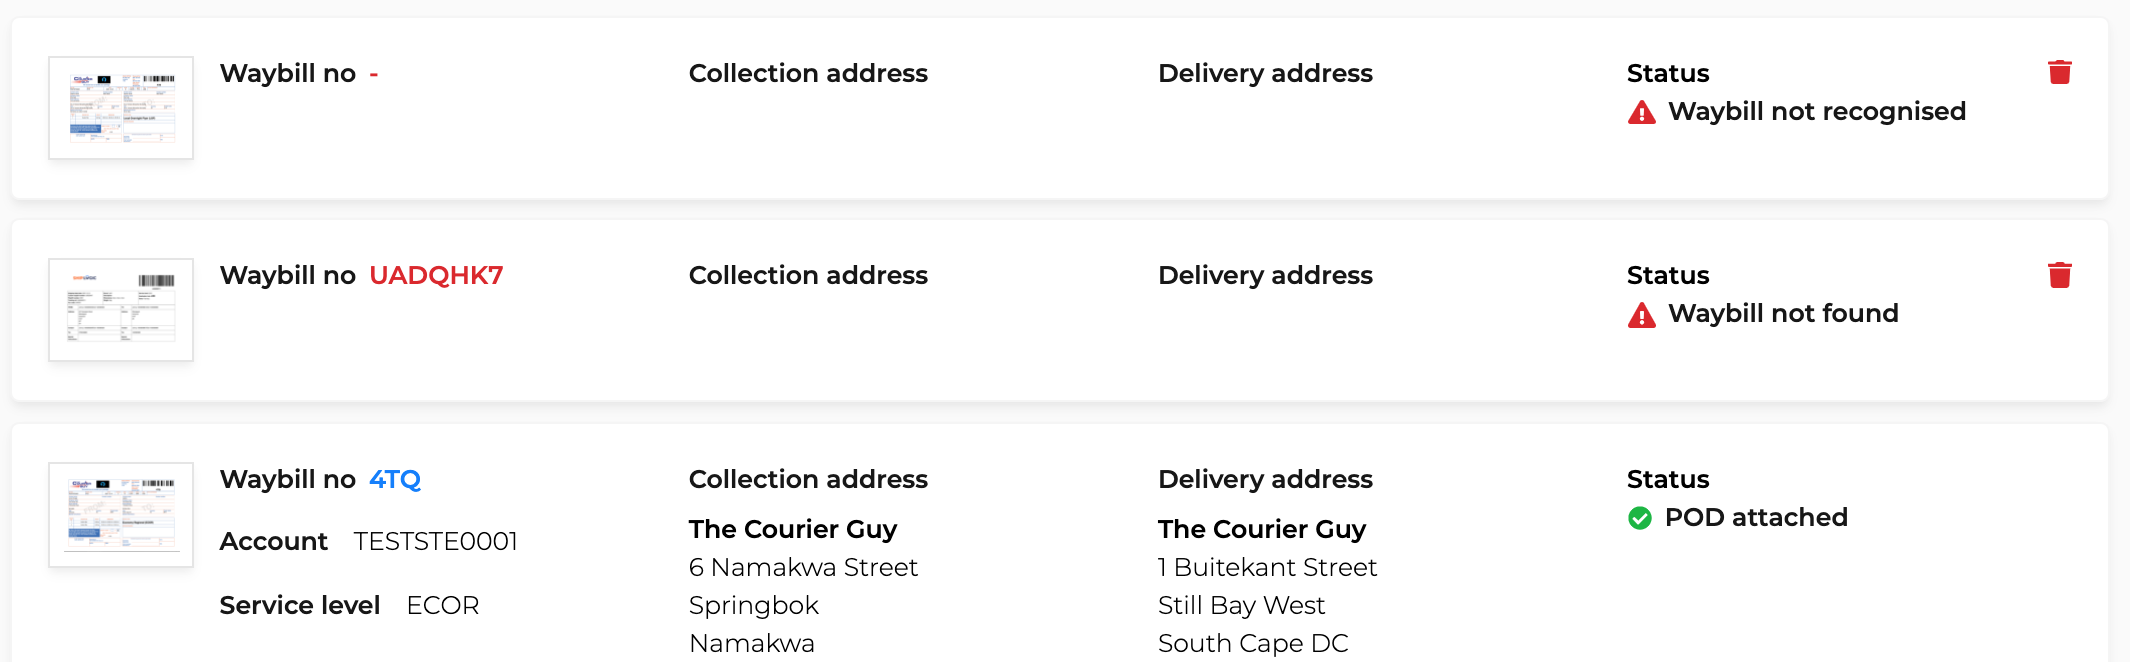
This step is only applicable to unsuccessful uploads.
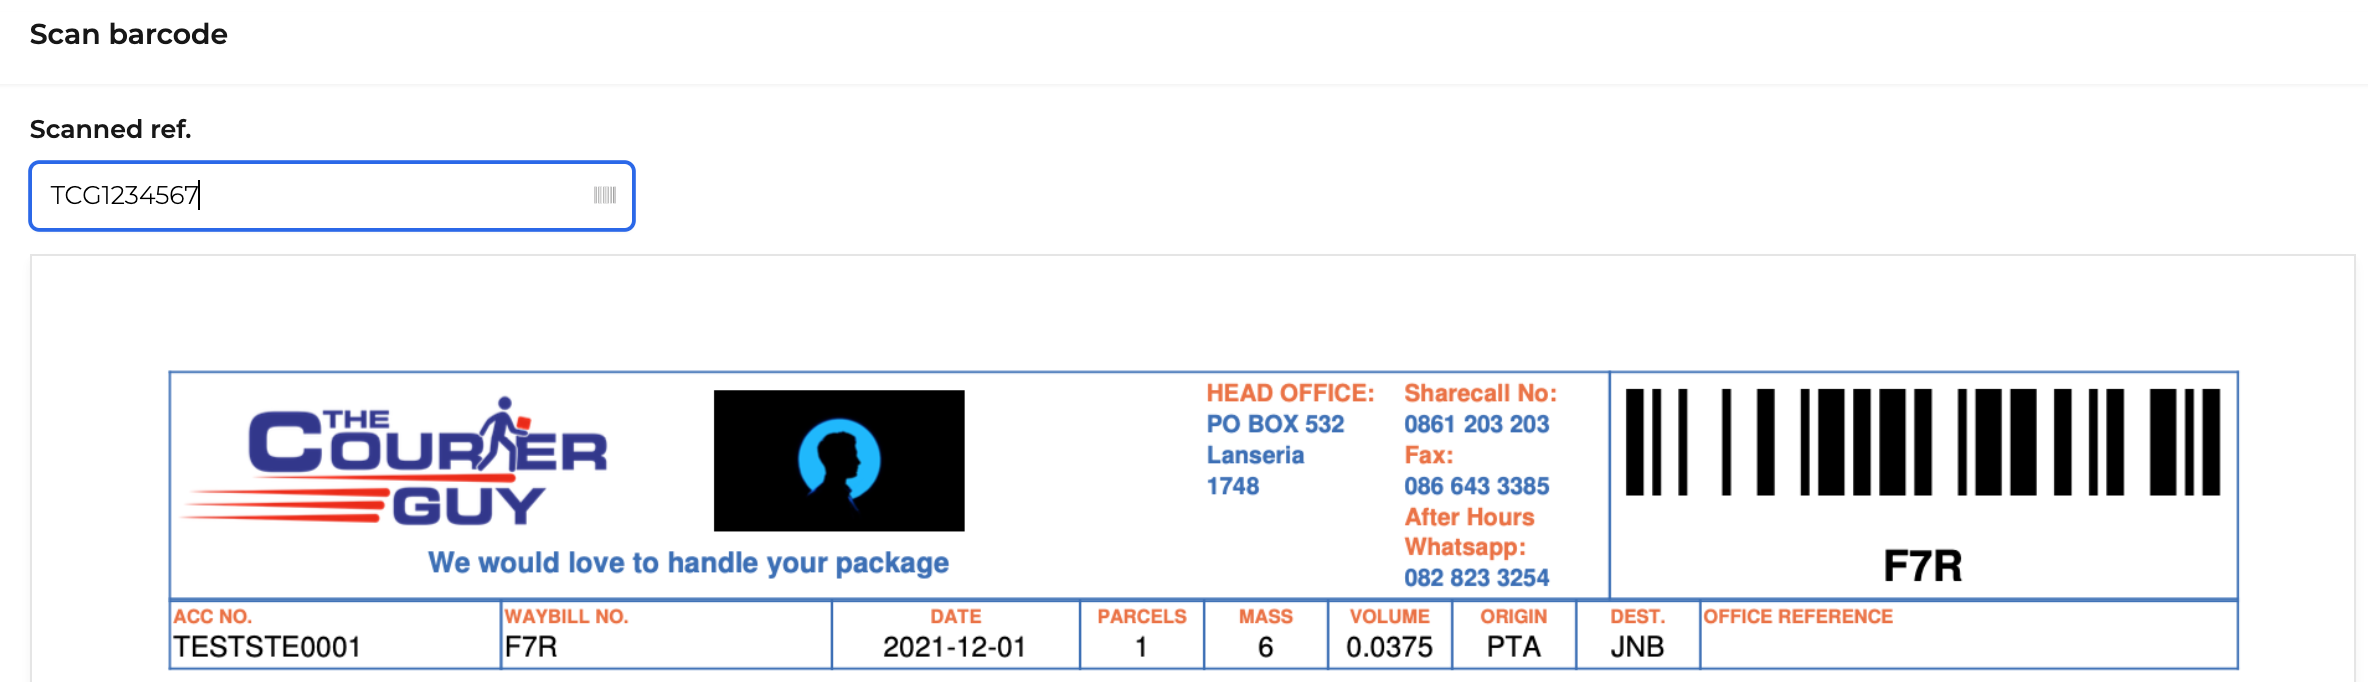
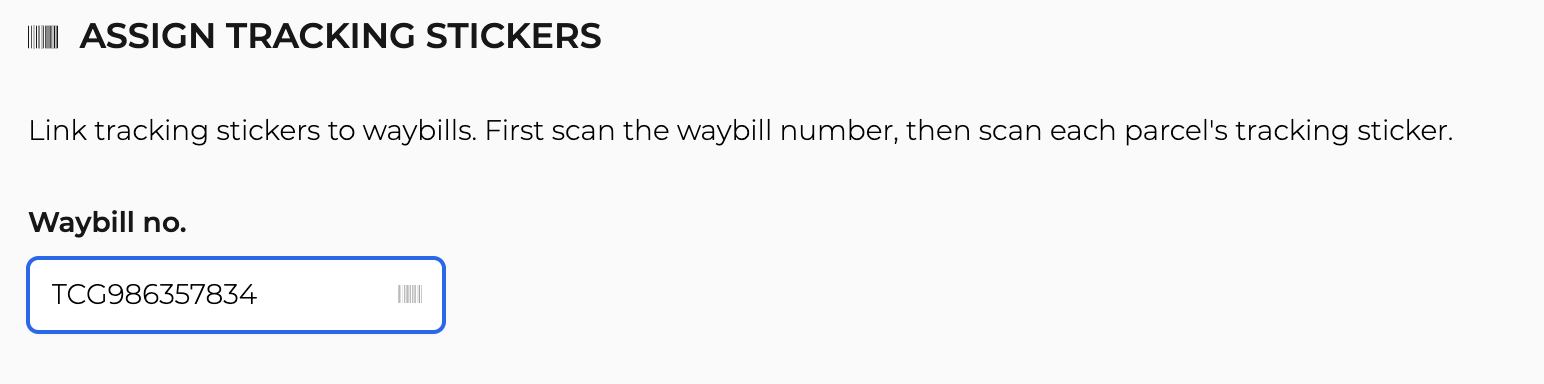
Manually scan or enter the correct waybill number to link the POD to the relevant shipment.
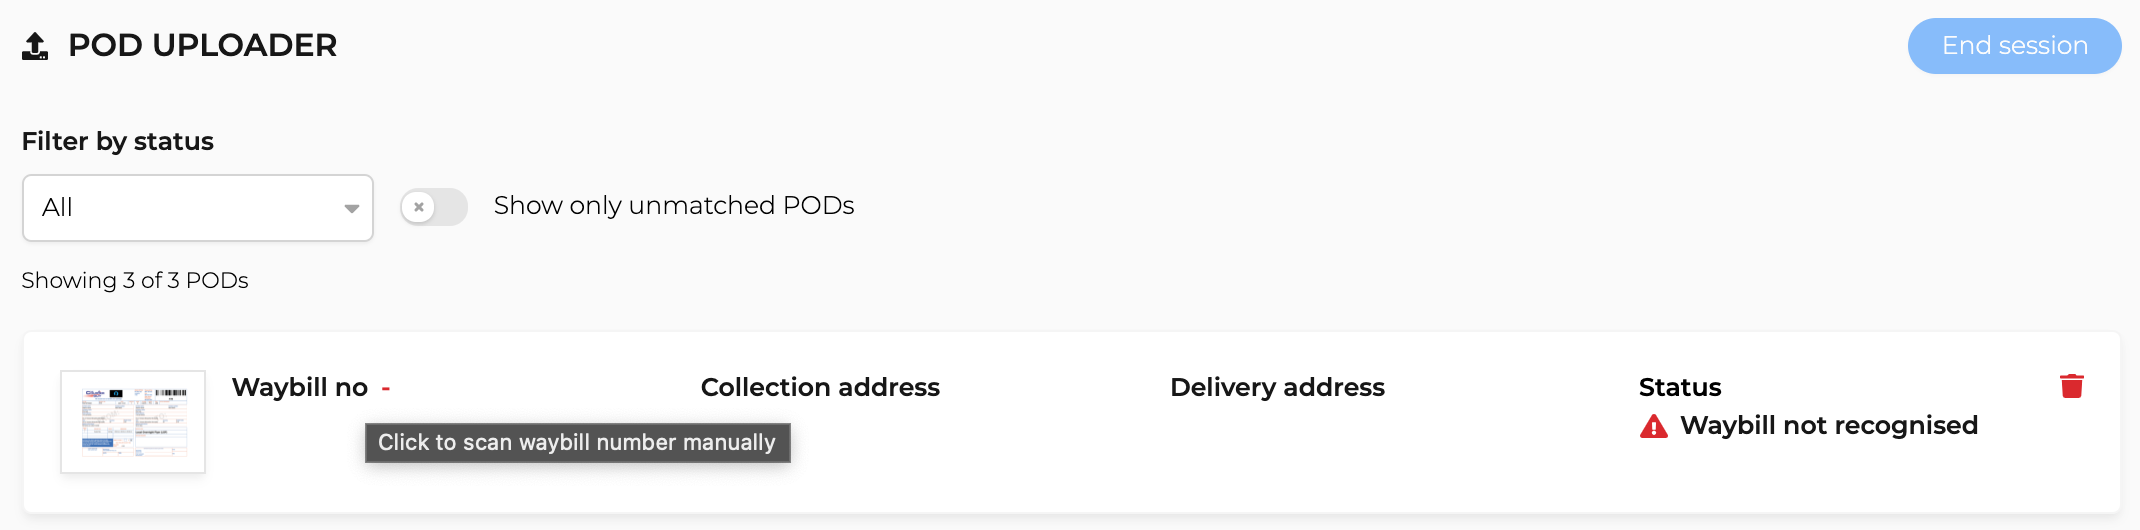
Click on the failed upload to open the manual entry page.
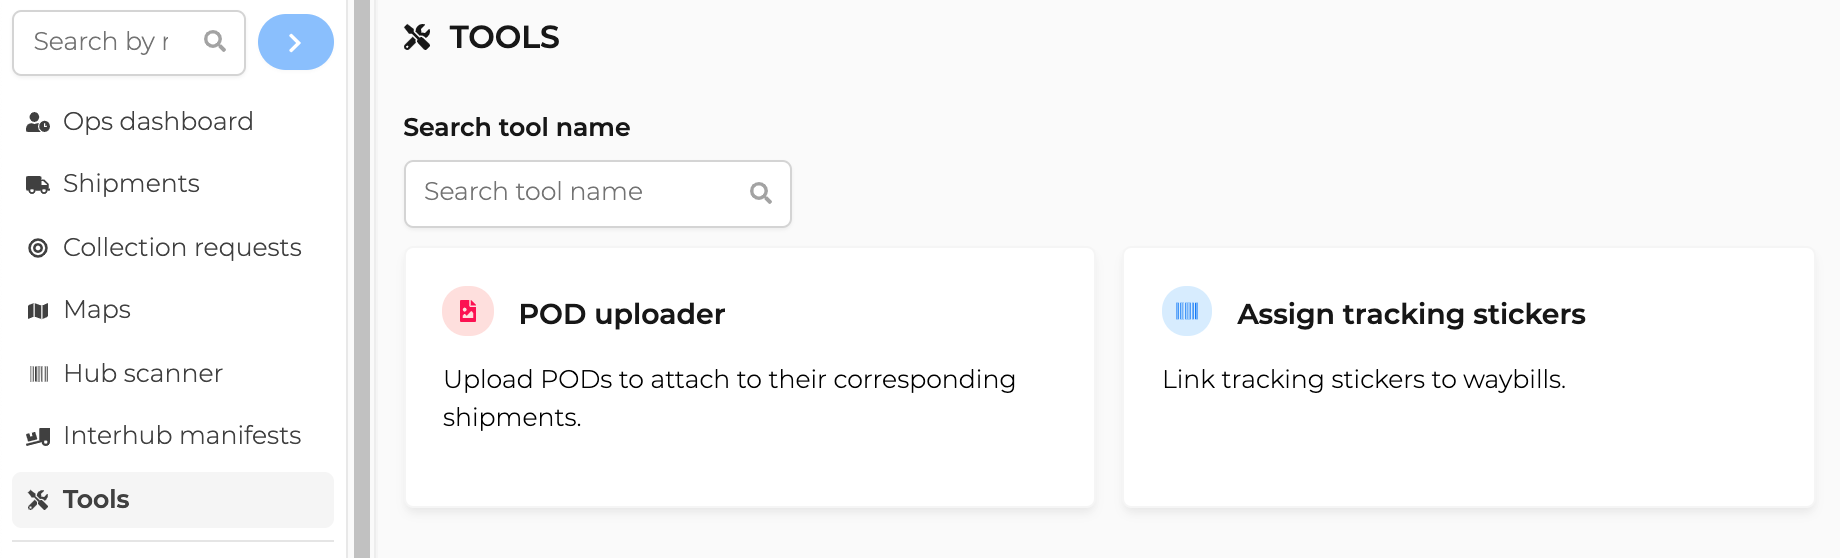
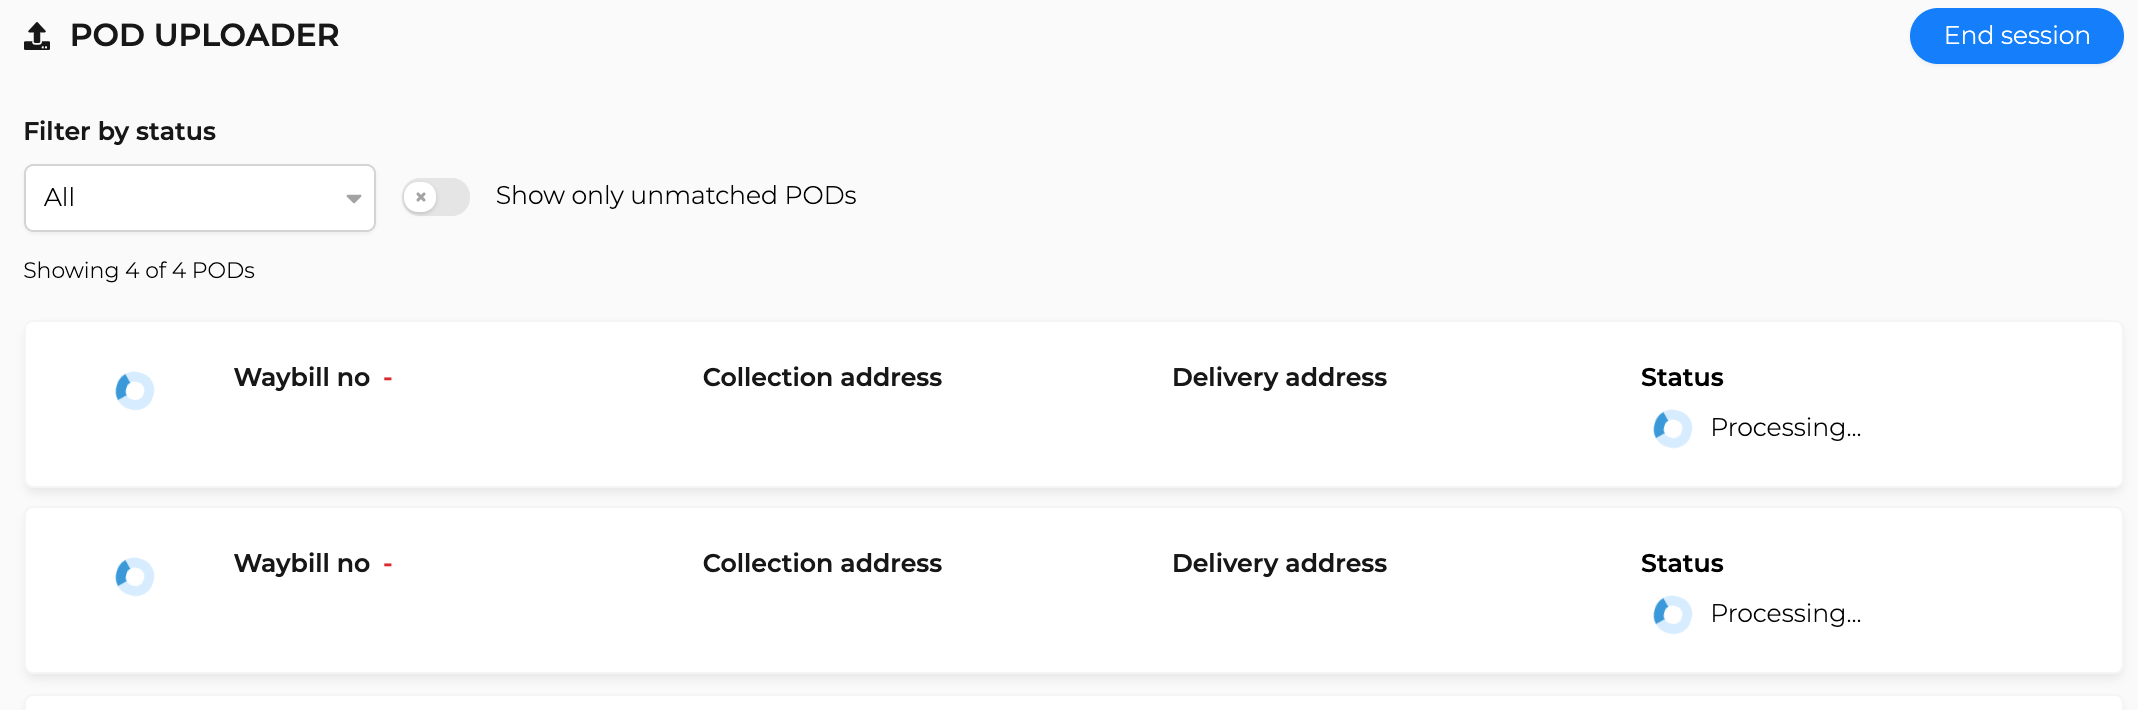
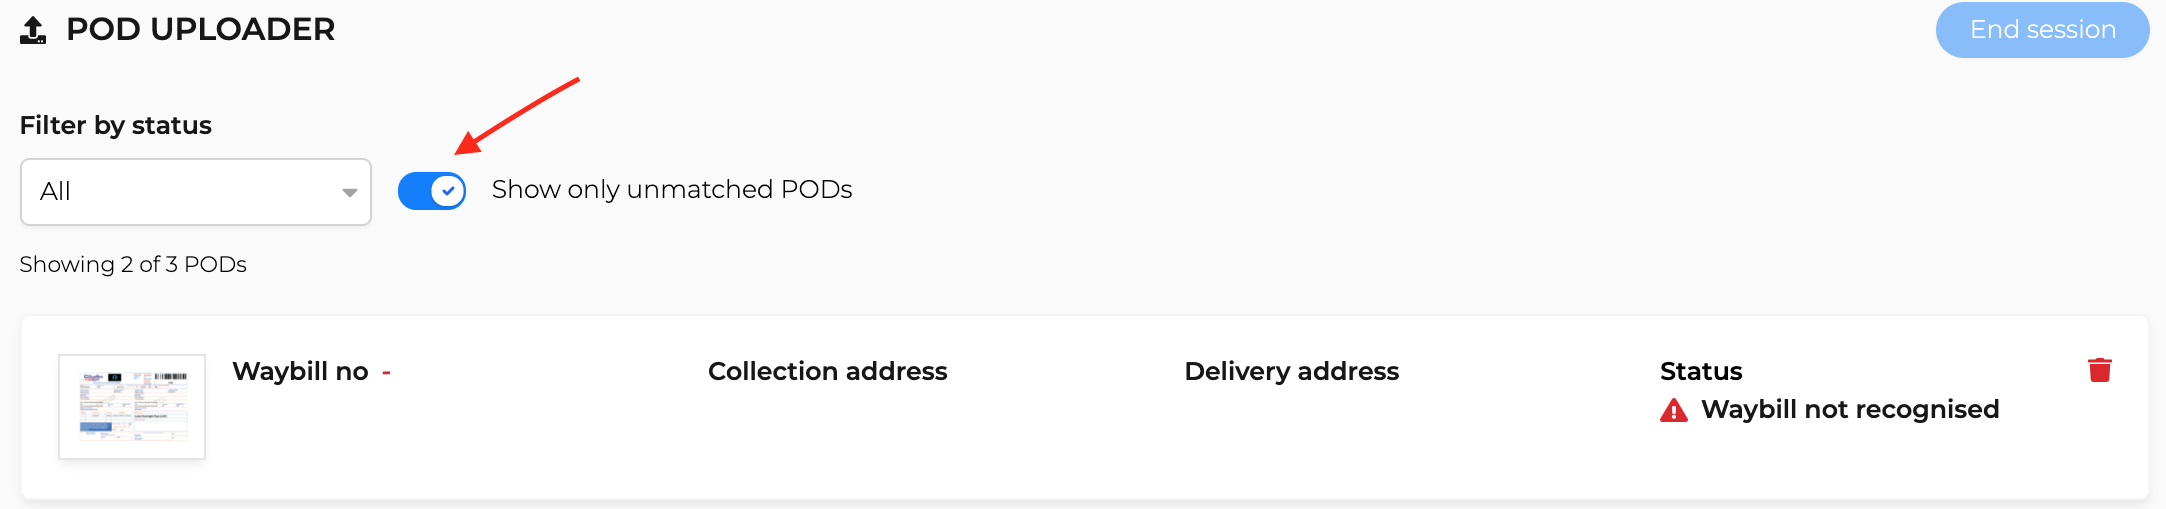
![]() Use the slider or filters to easily find all unmatched PODs.
Use the slider or filters to easily find all unmatched PODs.
Click on the remove icon ![]() on the selected waybill to remove it from the upload session.
on the selected waybill to remove it from the upload session.
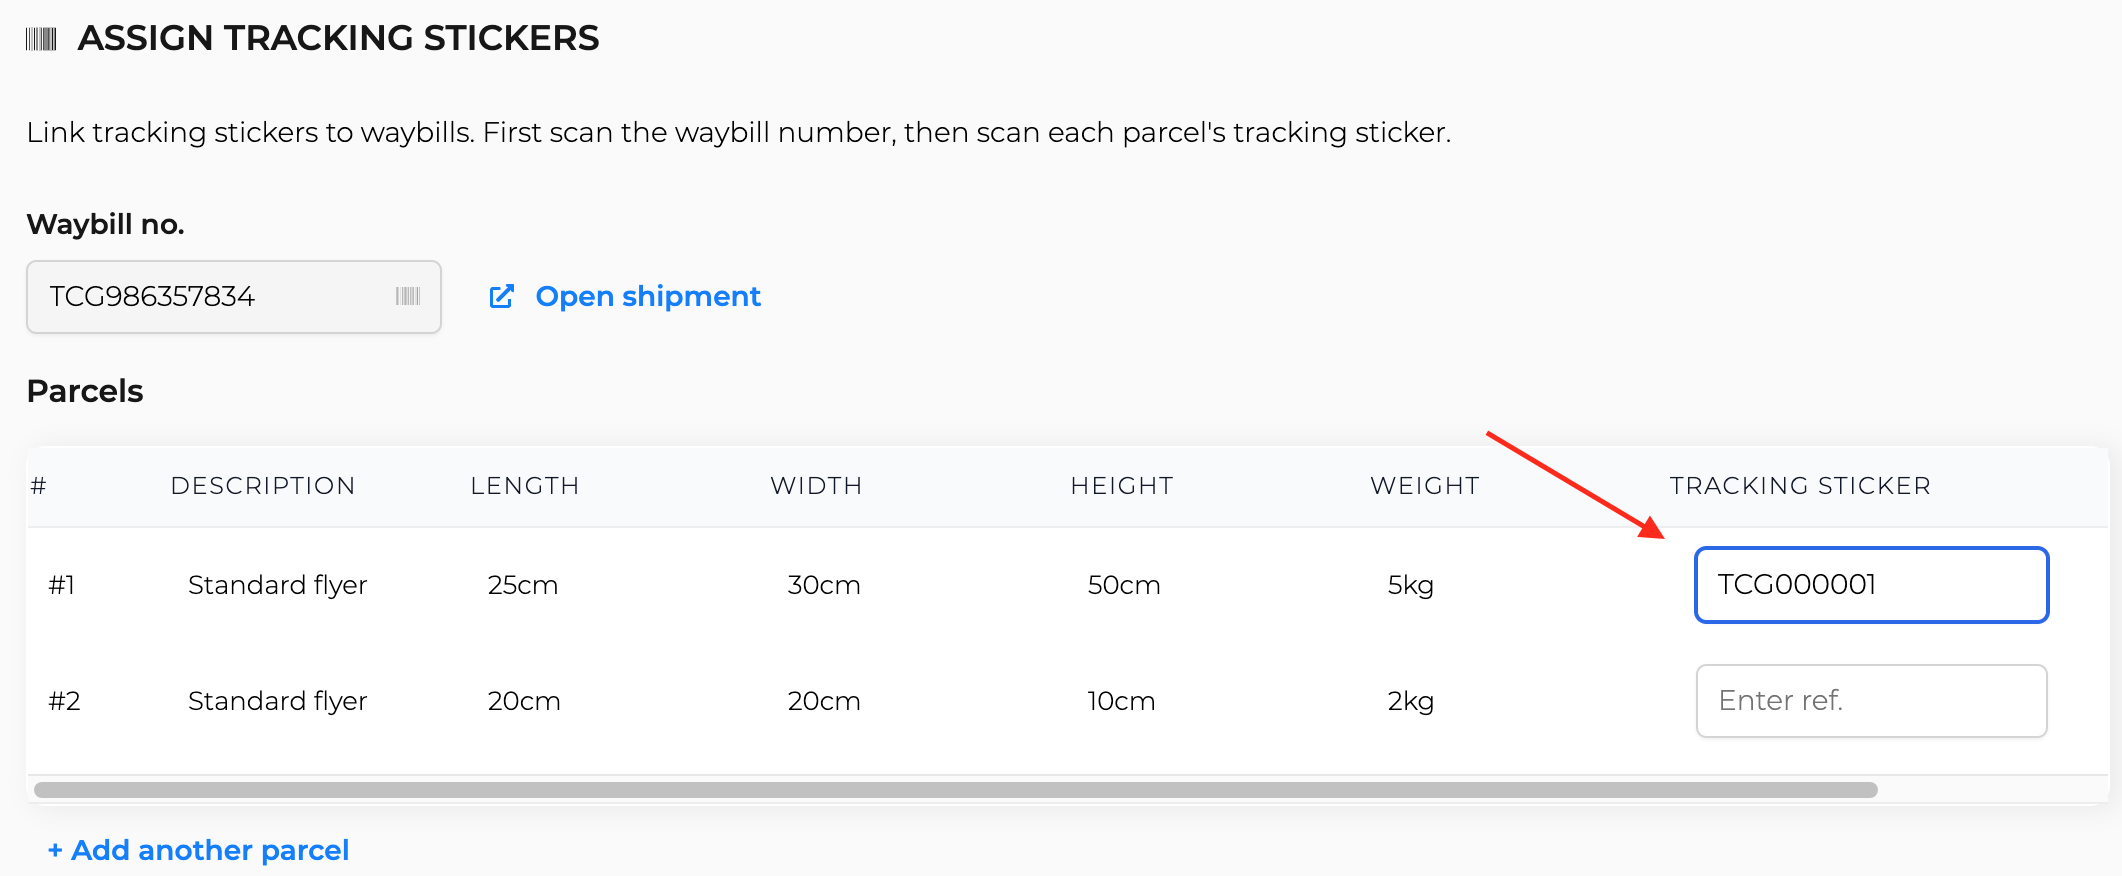


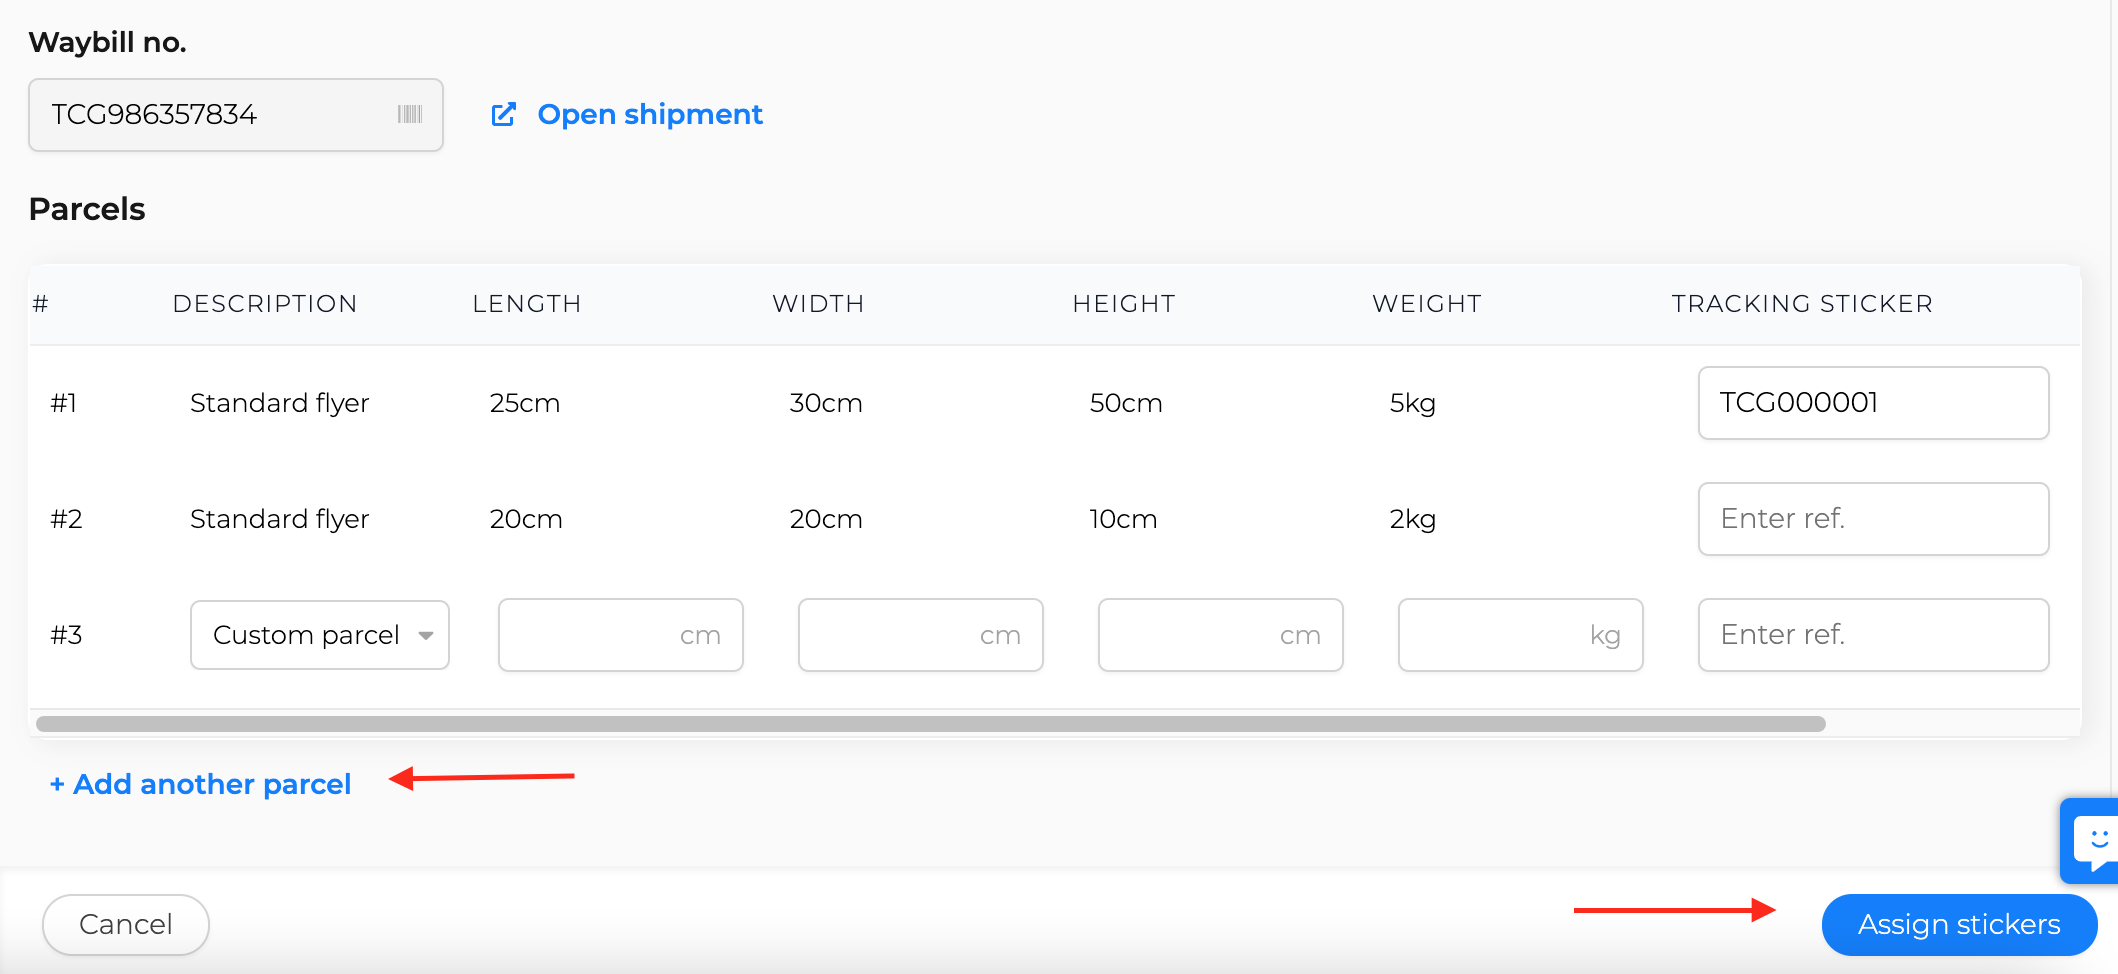
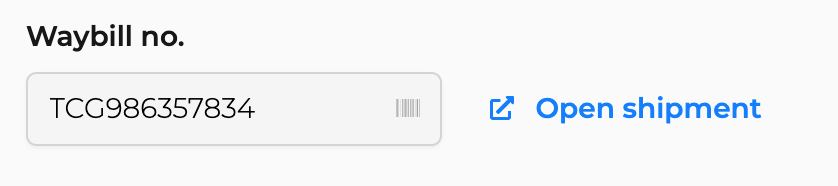
View your changes to the shipment by clicking on Open shipment
![]() All changes to the shipment and its billing are automatic and will reflect immediately.
All changes to the shipment and its billing are automatic and will reflect immediately.