


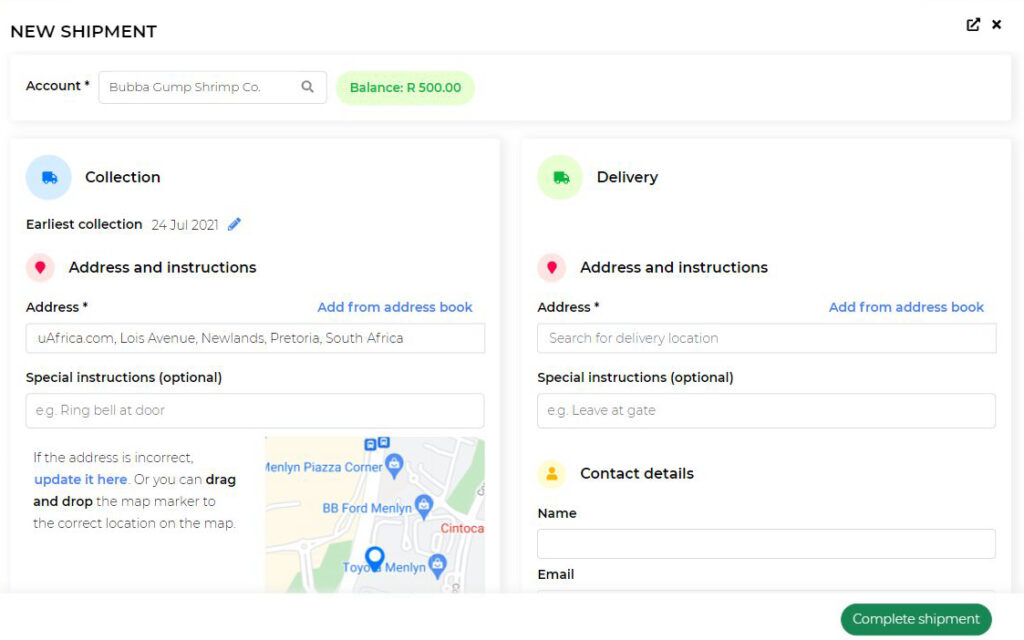

Then, choose the relevant service type to determine how fast the shipment should be delivered.
![]() Service level rates are determined by the dimensions of the parcel entered in the above step.
Service level rates are determined by the dimensions of the parcel entered in the above step.
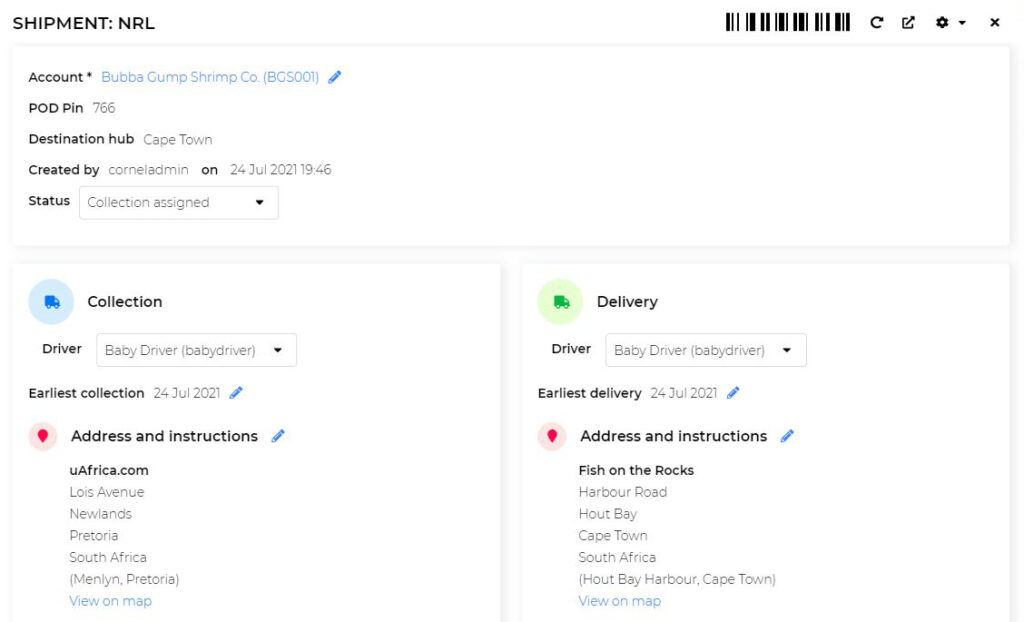
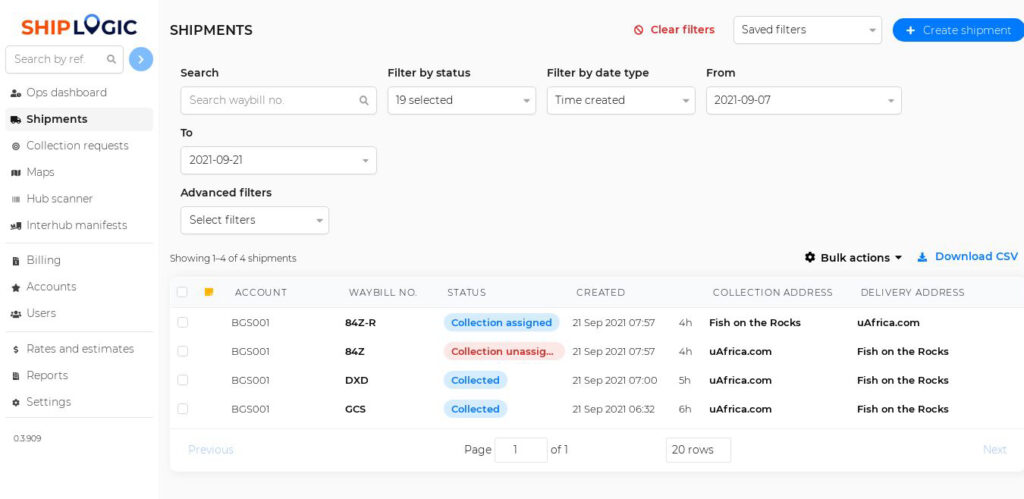
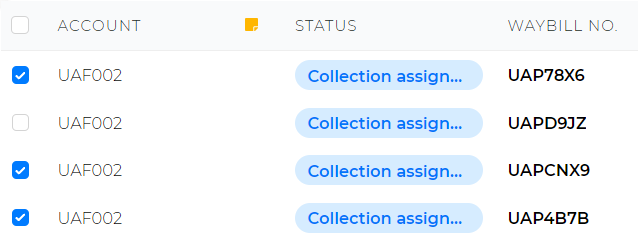
Select the relevant waybill and open to view the shipment details.
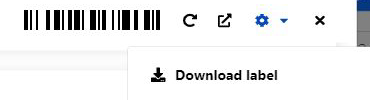
- Open the gear icon
 in the top right corner of the screen.
 - Click on Download label.
- A PDF file will download to your computer.
- Open the file to view the waybill information.
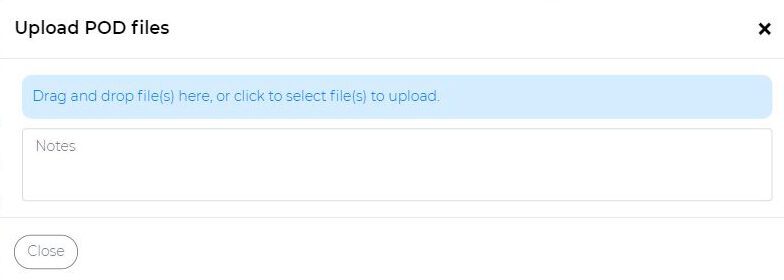
Select the relevant waybill and open it to view the shipment details.
- Open the gear icon in the top right corner of the screen.
- Click on Upload POD files.
- Drag and drop any PDF or Image file(s) or click to open your documents.
- Wait for the file to load and then click on Save to complete the upload.
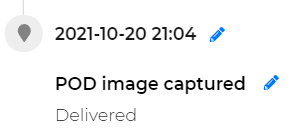
![]() POD files will be available in the shipment’s tracking events to view and access when needed.
POD files will be available in the shipment’s tracking events to view and access when needed.
Select the relevant waybill and open to view the shipment details.
- Open the gear icon in the top right corner of the screen.
- Click on View tracking events.
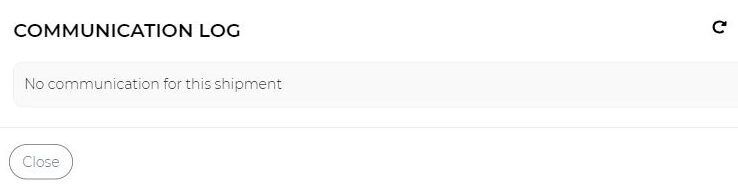
Select the relevant waybill and open to view the shipment details.
- Open the gear icon in the top right corner of the screen.
- Click on View communication log.
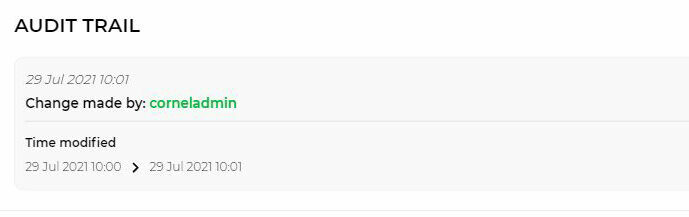
Select the relevant waybill and open to view the shipment details.
- Open the gear icon in the top right corner of the screen.
- Click on View audit trail.
Select the relevant waybill and open to view the shipment details.
- Open the gear icon in the top right corner of the screen.
- Click on Duplicate shipment.
- Create a new shipment with the same shipping details
Select the relevant waybill and open to view the shipment details.
- Open the gear icon in the top right corner of the screen.
- Click on Return this shipment.
- A new shipment is created where the collection and delivery details are swapped, ready to be returned to the sender.
- Note the new waybill number assigned to the returned shipment.
![]() Note the new waybill number assigned to the returned shipment.
Note the new waybill number assigned to the returned shipment.
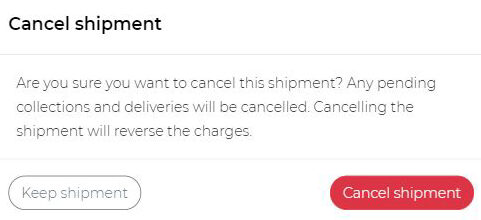
Select the relevant waybill and open to view the shipment details.
- Open the gear icon in the top right corner of the screen.
- Click on Cancel shipment.
- Read the pop-up carefully and either cancel or keep the shipment.
![]() Please note:
Please note:
- Cancelling a shipment before collection will not incur any costs.
- Charges will still apply if a shipment is cancelled after collection
Select the relevant waybill and open it to view the shipment details.
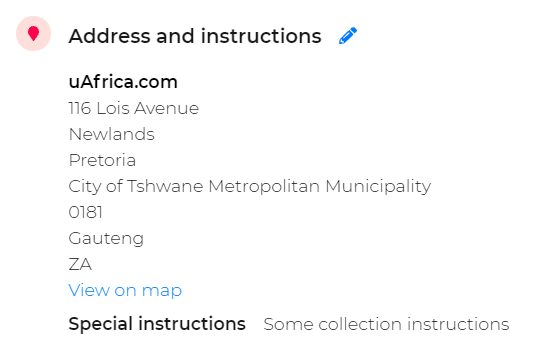
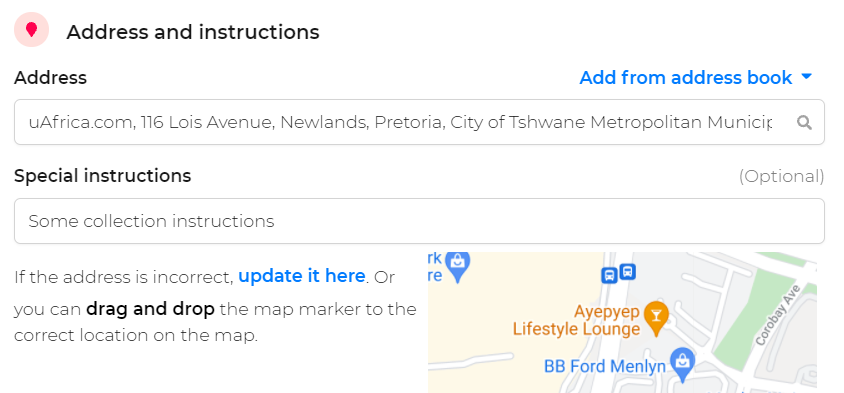
Edit the collection/delivery address by clicking on the edit icon ![]() . Enter the new address and click on Save in the bottom right corner.
. Enter the new address and click on Save in the bottom right corner.
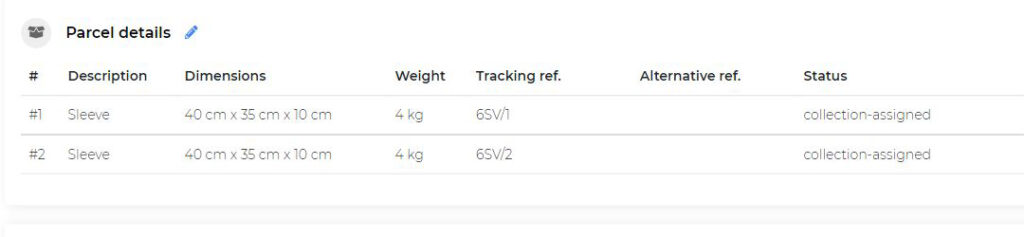
Select and open the relevant waybill to view the shipment details, then scroll to the Parcel Details section and click on the ![]() icon to edit the parcel details.
icon to edit the parcel details.
Make the necessary changes and click on Save in the bottom right corner to finalise the changes.
Make the necessary changes and click on Save in the bottom right corner to finalise the changes.
![]() Changes made to dimensions and weight will affect the rate of the entire shipment. Confirm the new rate to complete the change.
Changes made to dimensions and weight will affect the rate of the entire shipment. Confirm the new rate to complete the change.
Select the relevant waybill and open it to view the shipment details.
Scroll to the Parcel details section, click on the ![]() icon and then click on Add another parcel
icon and then click on Add another parcel

Select the relevant waybill and open it to view the shipment details.
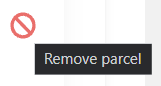
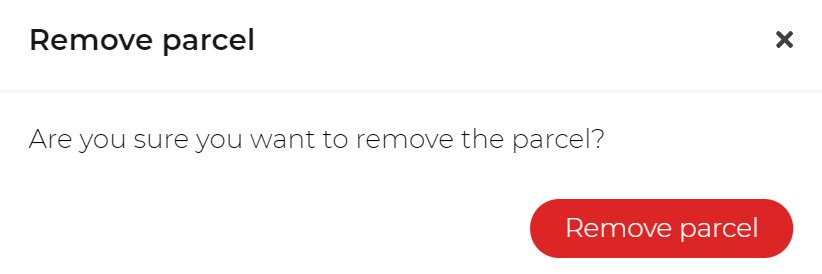
Scroll to the Parcels section, click on the icon ![]() to edit. Then click on the icon remove to delete the parcel from the shipment.
to edit. Then click on the icon remove to delete the parcel from the shipment.
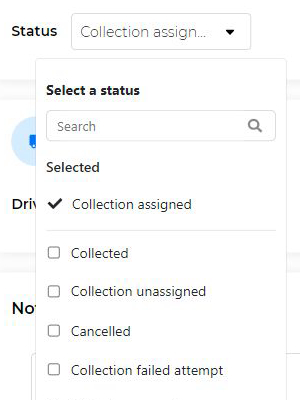
Select the relevant waybill and open to view the shipment details.
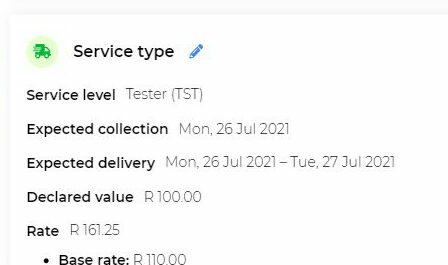
Scroll to the Service type section and click on the icon ![]() .
.
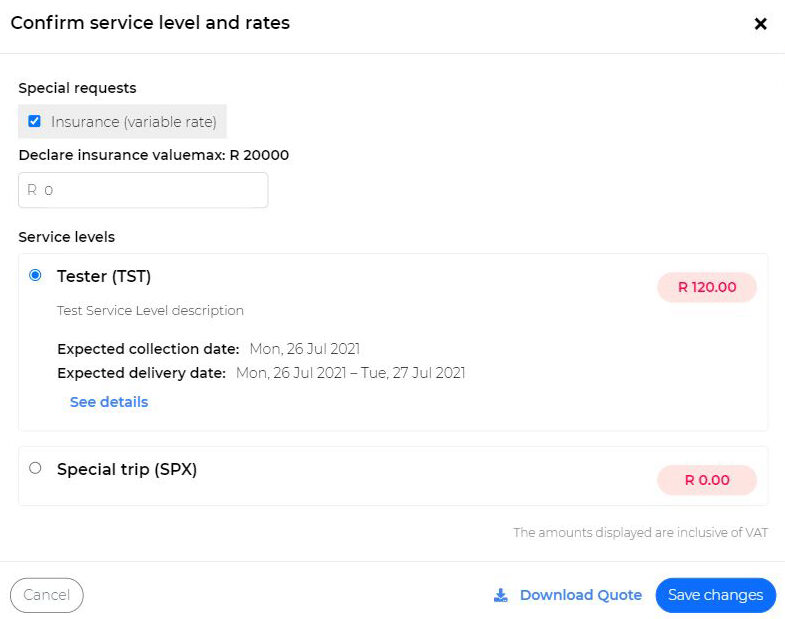
- View all relevant service levels for the shipment.
- Select and/or change the required service level.
- Save changes at the bottom.
![]() Note: Service levels can also be changed after editing parcel details.
Note: Service levels can also be changed after editing parcel details.


![]() Shipment notes are only visible to other admin users and not to the drivers assigned to the shipment.
Shipment notes are only visible to other admin users and not to the drivers assigned to the shipment.
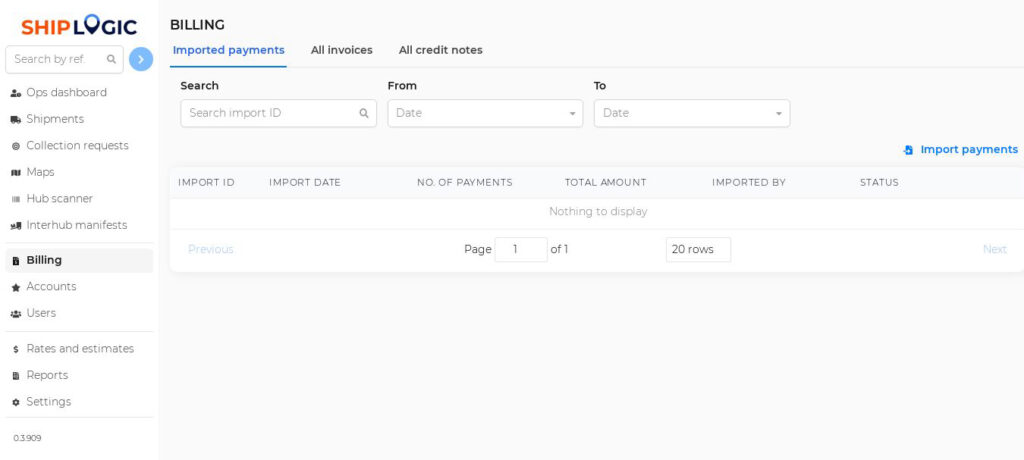

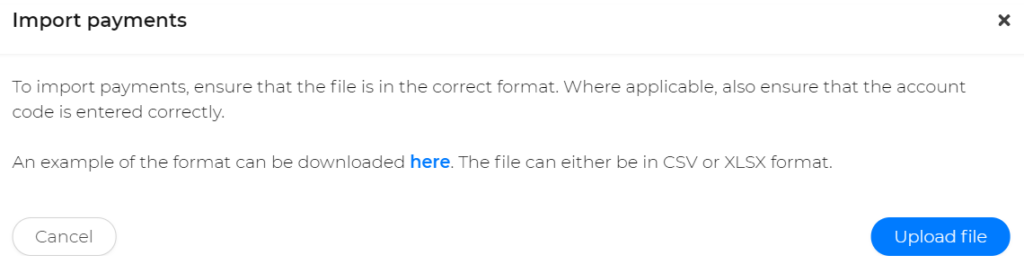
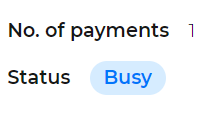
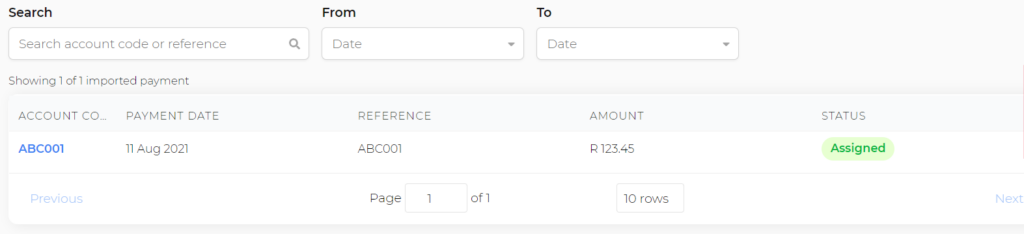
 To import payments, ensure that the file is in the correct format. Where applicable, also ensure that the account code is entered correctly.


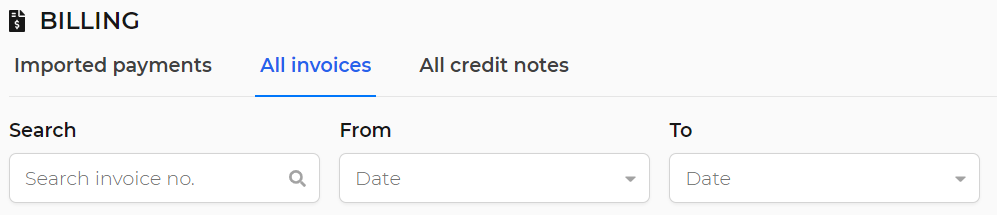
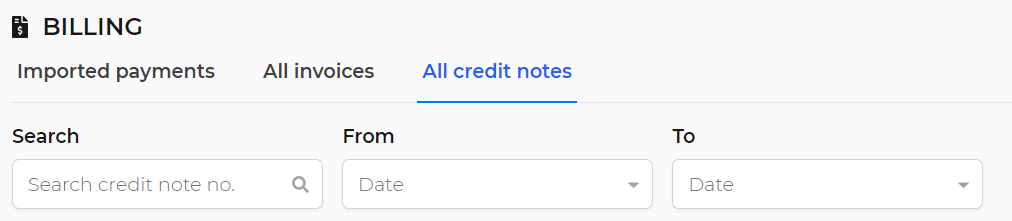
Click on the invoice or credit note to open, view and download its details.
![]() Invoices are downloadable in both PDF or CSV format.
Invoices are downloadable in both PDF or CSV format.
![]() Please note: Invoices will be sent via email to the billing contact entered for that account. Invoice frequency can be set in an account’s billing section.
Please note: Invoices will be sent via email to the billing contact entered for that account. Invoice frequency can be set in an account’s billing section.


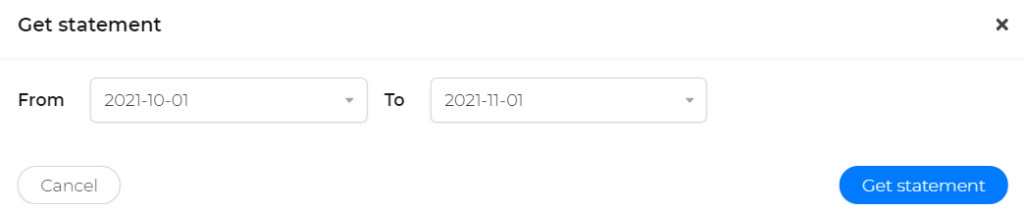
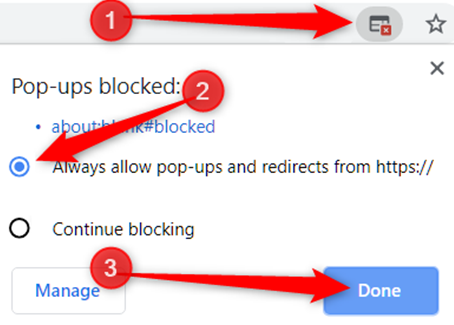
![]() Please allow the pop-up on your browser. The PDF will open in a pop-up and then be able to download or print.
Please allow the pop-up on your browser. The PDF will open in a pop-up and then be able to download or print.
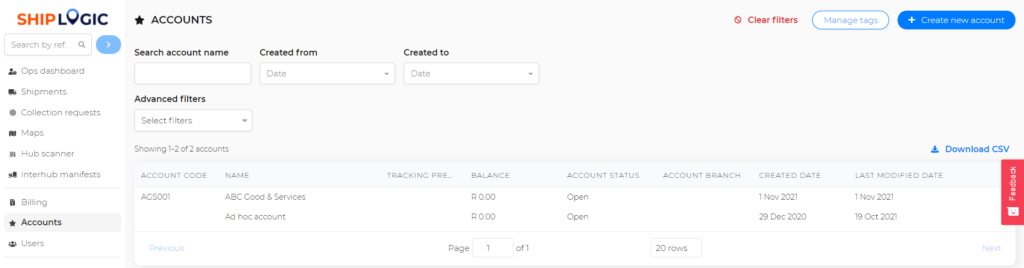
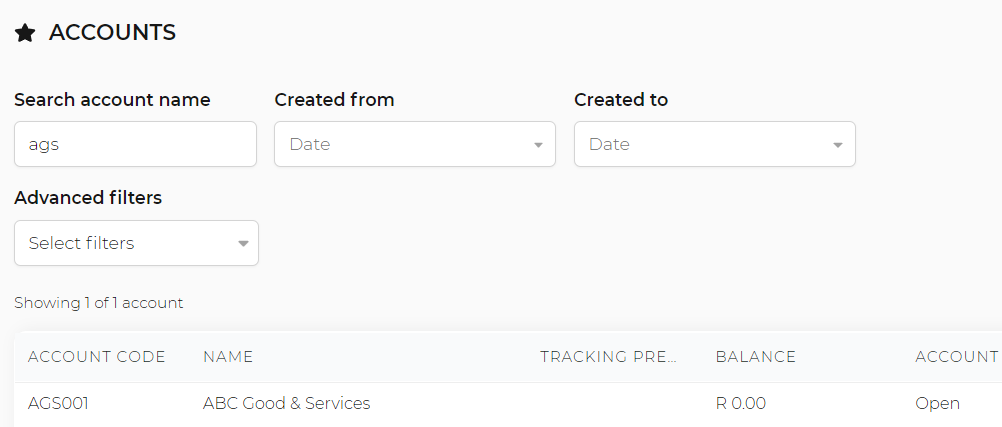
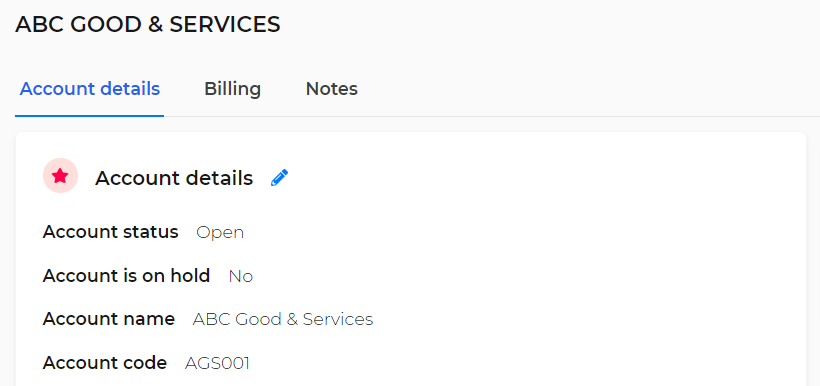
Open accounts and search for the account you wish to edit.
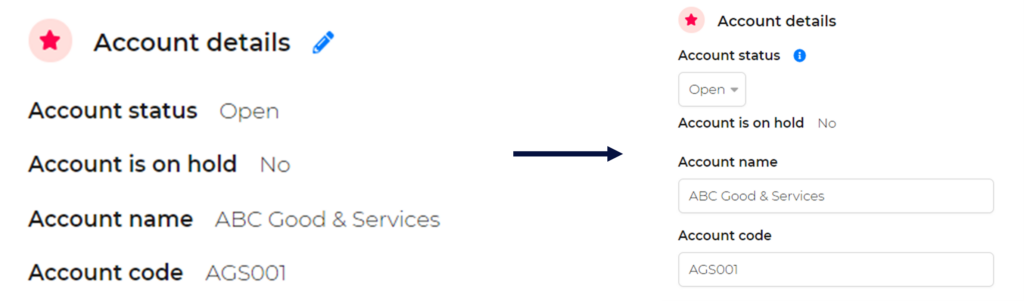
In the Account details section, click on the pencil icon ![]() to edit the account details.
to edit the account details.

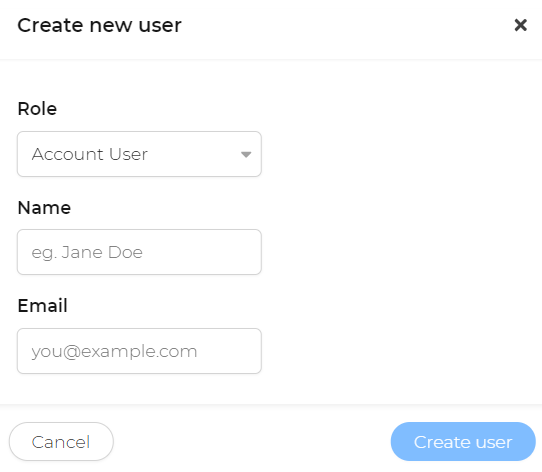
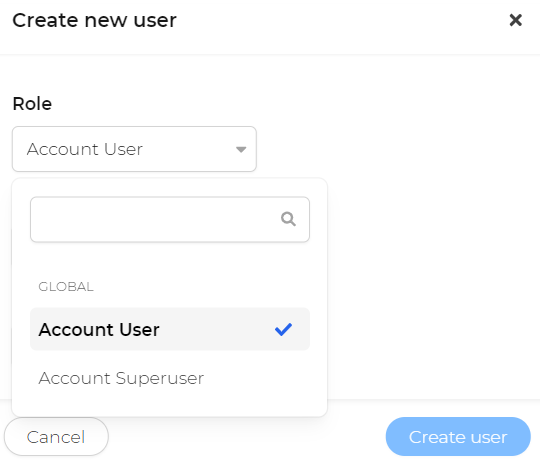
There are two roles for account users called Account User and Account Super User. The Superuser roles are used for main account holders to access their account settings and billing info. For ordinary staff, use the Account User role as this role is very limited and restricts access to the account settings and billing info.
![]() The new user will receive an email with their username and a temporary password that they can use to log into the account.
The new user will receive an email with their username and a temporary password that they can use to log into the account.
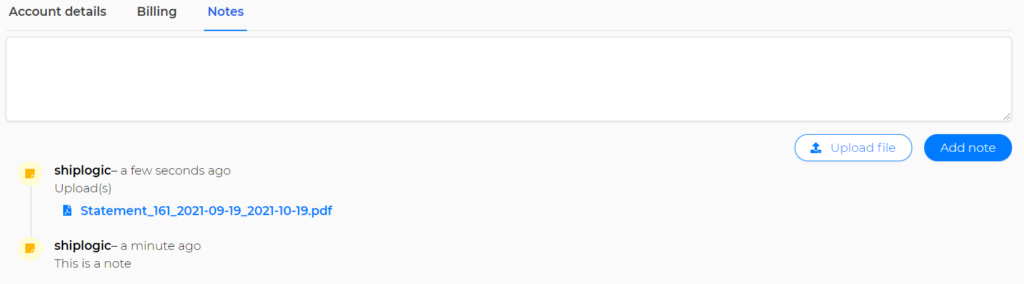
![]() Notes cannot be deleted by other users but can be viewed by all. ONLY the original note creator can remove their own note.
Notes cannot be deleted by other users but can be viewed by all. ONLY the original note creator can remove their own note.
![]() Impersonation: To access a client’s account without using their login details.
Impersonation: To access a client’s account without using their login details.
Go to accounts in the left-hand navigation menu and search for the account you wish to edit.
On the Account details page, scroll to the Account users section and click on the rocket icon ![]() next to the user to impersonate that account.
next to the user to impersonate that account.


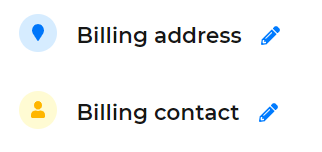
Click on the pencil icon ![]() next to the relevant section to edit the details.
next to the relevant section to edit the details.

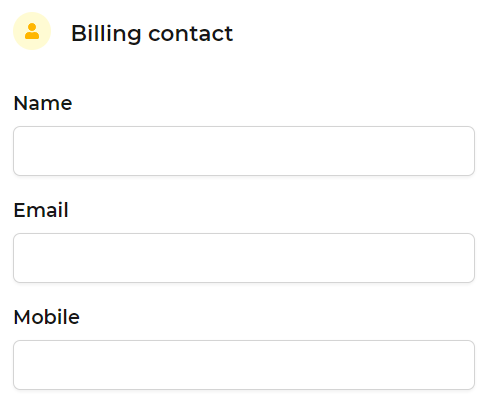
![]() Please note: Invoices will be sent via email to the billing contact entered for the account.
Please note: Invoices will be sent via email to the billing contact entered for the account.
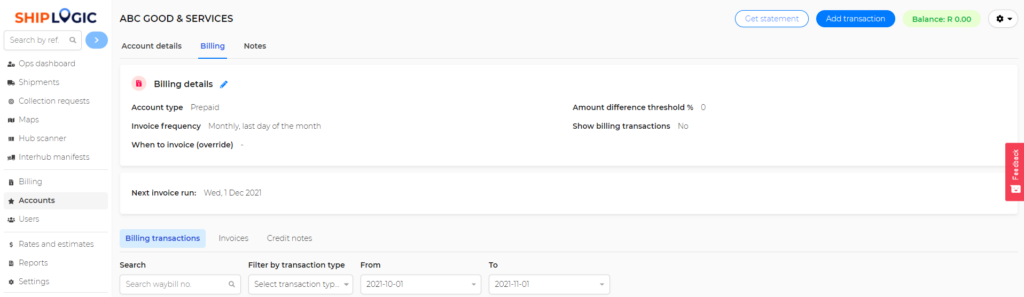
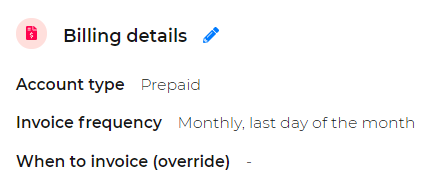
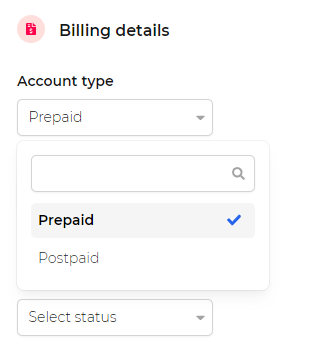
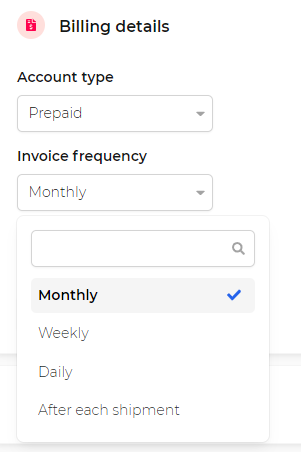
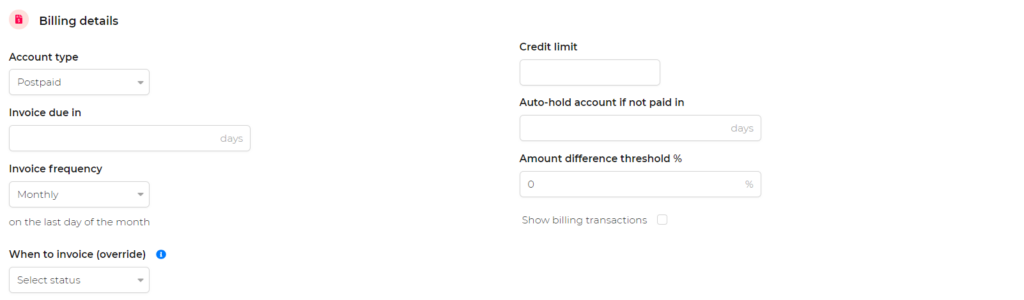
In the Billing details section, click on the pencil icon to change the account’s billing details ![]()
![]() e.g. Account type, when invoices are due, setting a credit limit, invoice frequency, etc.
e.g. Account type, when invoices are due, setting a credit limit, invoice frequency, etc.


![]() Please allow the pop-up on your browser.
Please allow the pop-up on your browser.
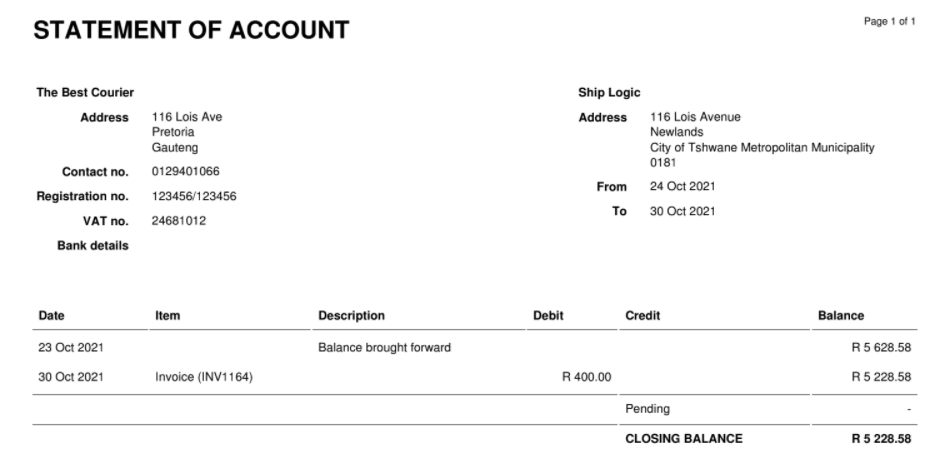


Invoices less credit notes broken down by VAT type over a period of time together with statement transactions for the same period.
Net sales by account, collection, delivery and on behalf branches over a period of time (based on what has been invoiced*).
Net sales (invoices less credit notes) by account over a period of time (based on what has been invoiced*).
Billing transactions by account over a period of time (not based on invoiced).
![]()
Amounts due by account: Current, 30 days, 60 days and 90 days breakdown (based on payment date of invoices* and run as at a specified date).
A list of all accounts with information required to calculate sales agent commission.
Historic driver performance over a period of time.
CSV file used by the Hikvision ecosystem to link tracking events to video footage.